Note
Click here to download the full example code
Using custom colors
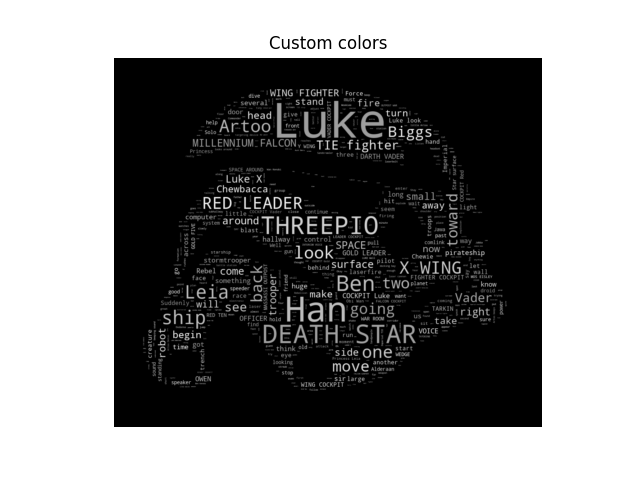
Using the recolor method and custom coloring functions.
import numpy as np
from PIL import Image
from os import path
import matplotlib.pyplot as plt
import os
import random

from wordcloud import WordCloud, STOPWORDS


def grey_color_func(word, font_size, position, orientation, random_state=None,
                    **kwargs):
    return "hsl(0, 0%%, %d%%)" % random.randint(60, 100)


# get data directory (using getcwd() is needed to support running example in generated IPython notebook)
d = path.dirname(__file__) if "__file__" in locals() else os.getcwd()

# read the mask image taken from
# http://www.stencilry.org/stencils/movies/star%20wars/storm-trooper.gif
mask = np.array(Image.open(path.join(d, "stormtrooper_mask.png")))

# movie script of "a new hope"
# http://www.imsdb.com/scripts/Star-Wars-A-New-Hope.html
# May the lawyers deem this fair use.
text = open(path.join(d, 'a_new_hope.txt')).read()

# pre-processing the text a little bit
text = text.replace("HAN", "Han")
text = text.replace("LUKE'S", "Luke")

# adding movie script specific stopwords
stopwords = set(STOPWORDS)
stopwords.add("int")
stopwords.add("ext")

wc = WordCloud(max_words=1000, mask=mask, stopwords=stopwords, margin=10,
               random_state=1).generate(text)
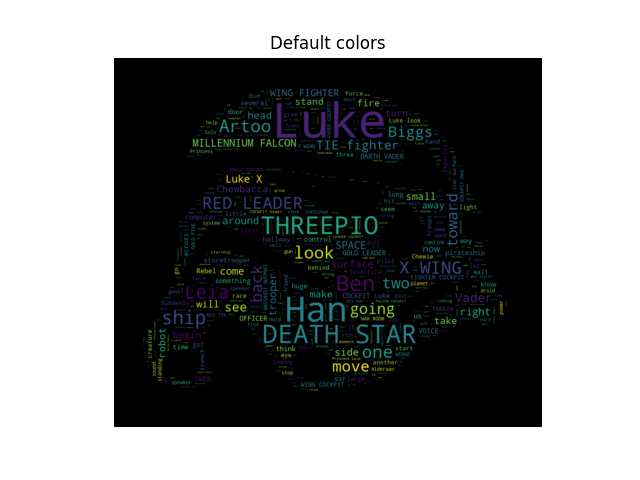
# store default colored image
default_colors = wc.to_array()
plt.title("Custom colors")
plt.imshow(wc.recolor(color_func=grey_color_func, random_state=3),
           interpolation="bilinear")
wc.to_file("a_new_hope.png")
plt.axis("off")
plt.figure()
plt.title("Default colors")
plt.imshow(default_colors, interpolation="bilinear")
plt.axis("off")
plt.show()
Total running time of the script: ( 0 minutes 7.839 seconds)

